How many of you, have a box of broken Crayons, unsharpened Crayons or shades that do not get as much use? Here is a super easy and fun project, that is also ecological. Let's recycle those crayons into fun new shapes. Here's how.

Supplies you will need.
Crayons! Broken, unsharpened or random crayons in a box.
Cutting Board and knife. (An Adult should do all the cutting.)
Bowl of warm water.
Silicon molds of your choice. We use ice cube trays. (Cupcake pans can work too.)
Cookie Tray
Oven
Oven Mitts
Step 1. Remove all the wrappers from all the crayons. Some are more stubborn to remove. You can snack them in the bowl of the warm water and they will pull off with ease.
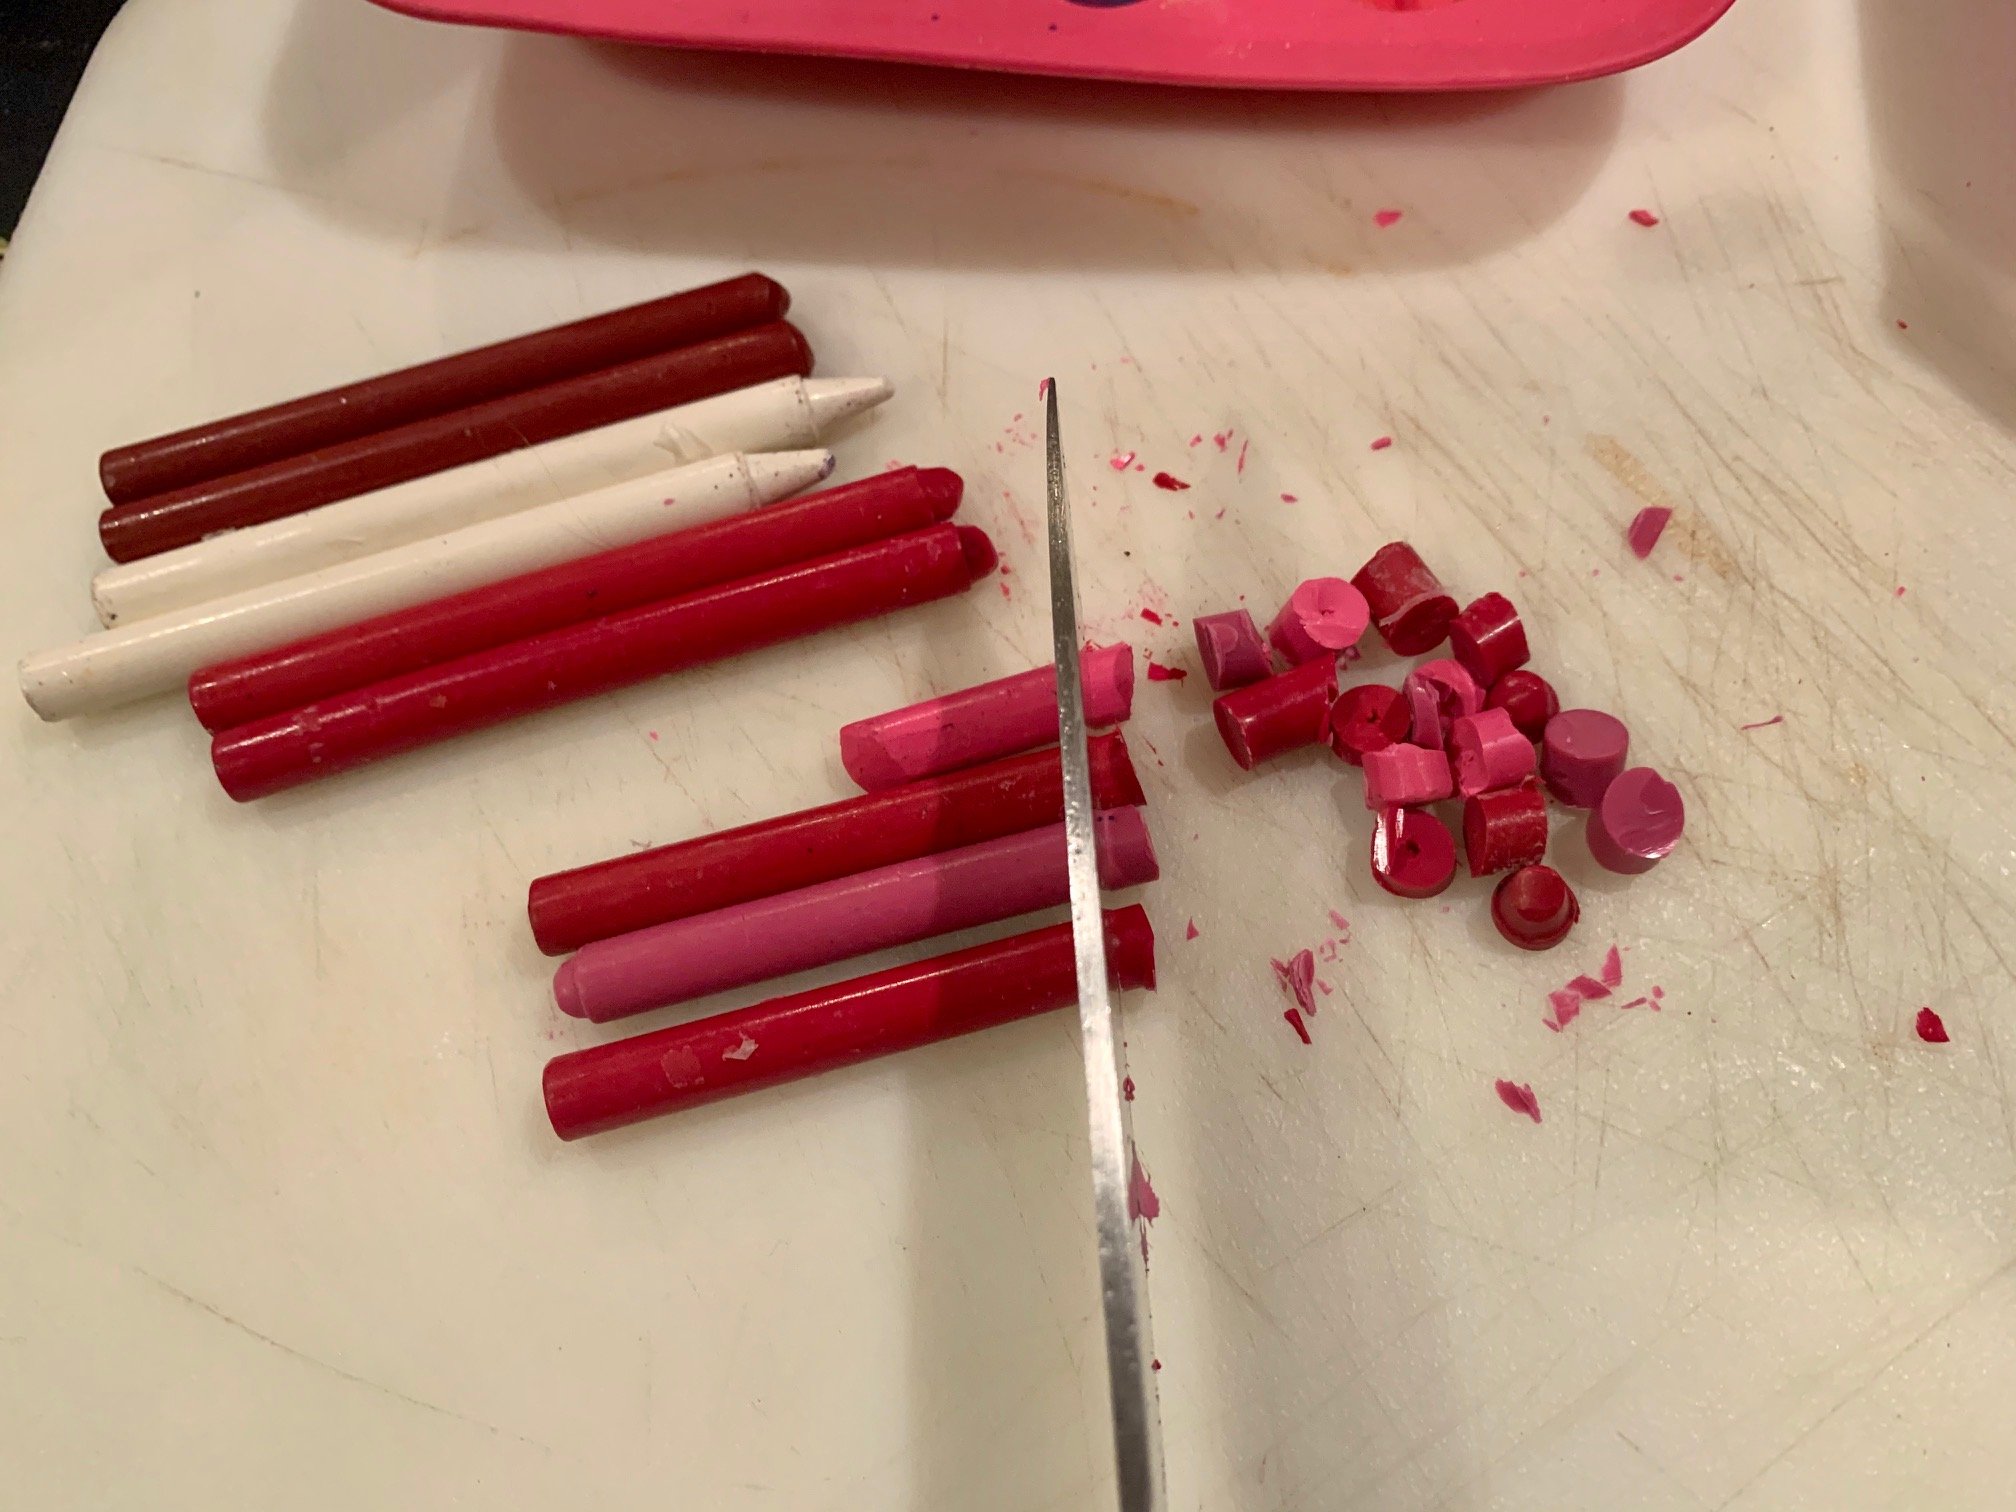
Step 2. Chop up your crayons on a cutting board. This is a great time to use an old cutting board you had thought of tossing out. Keep it for crafts. You can chop up all the crayons into smaller pieces that will fit nicely in your mold. Cutting should be the job of the adult. Kids can help out by breaking them into smaller pieces. If you do not want to use a knife, just break them into smaller pieces with your hands.
Step 3. Preheat your oven to 150 degrees. This is a slow and steady temperature to help them melt at a good pace. Keep an eye on them. Each oven heats differently. 10-20 minutes depending on the size of your mold. Smaller molds will melt quicker.

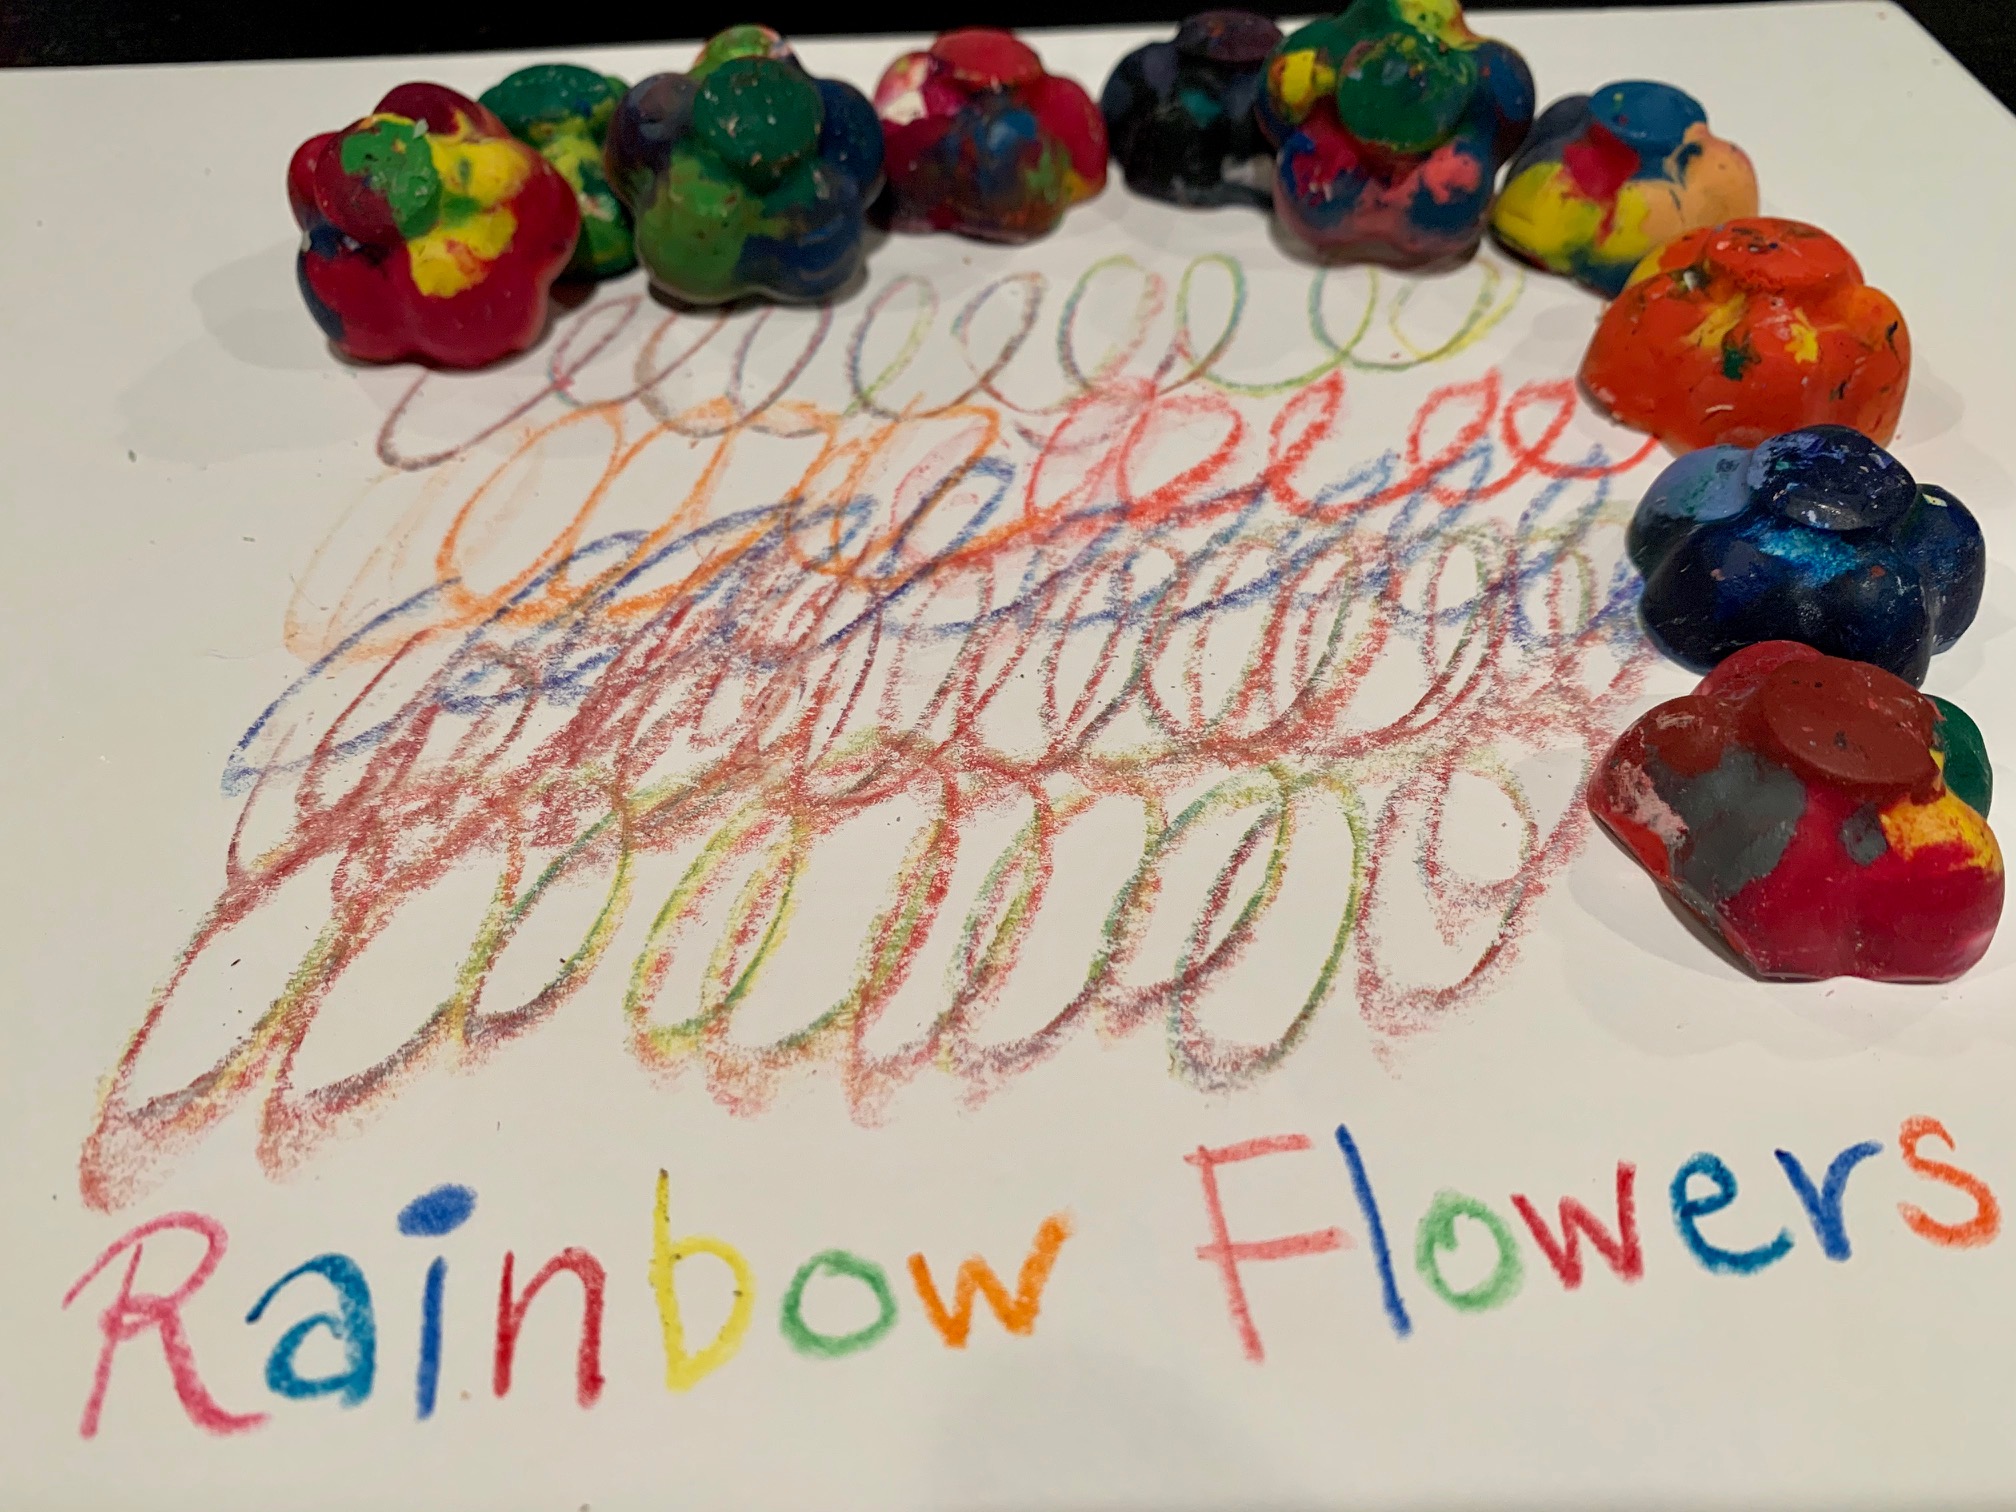
Step 4. Arrange your Crayons by colors or shades in your molds. Or add multiple colors for a rainbow effect. You can create ombre tones or go monochromatic. It's up to you! I love orange cats and my daughter has a tortoise shell colored cat. We decided to make our cat crayons to look like our cats. You can do what ever your hearts desires with your designs. Get creative!! They also make FUN little gifts!
Step 5. Place your molds on a cookie tray and place in the oven. After 10 minutes take a look. If they need more time, check them again in 2-3 minute increments until melted.
Step 6. Cool down your shapes. Remove the cookie tray and molds from the oven using oven mitts. This should be done by the adult. Depending on space in your fridge or freeze, place the trays all together or one at a time. Cooling them down in the refrigerator speeds up the setting process and makes removal from the molds easier. I usually leave them in for 10-15 minutes. Once cooled down, pop out your new shaped colors.
Here are a few of our creations! Have fun with the process. Get creative!! And remember, even broken Crayons can still color the world!! Enjoy.